Registration of Application for Auth 2.0
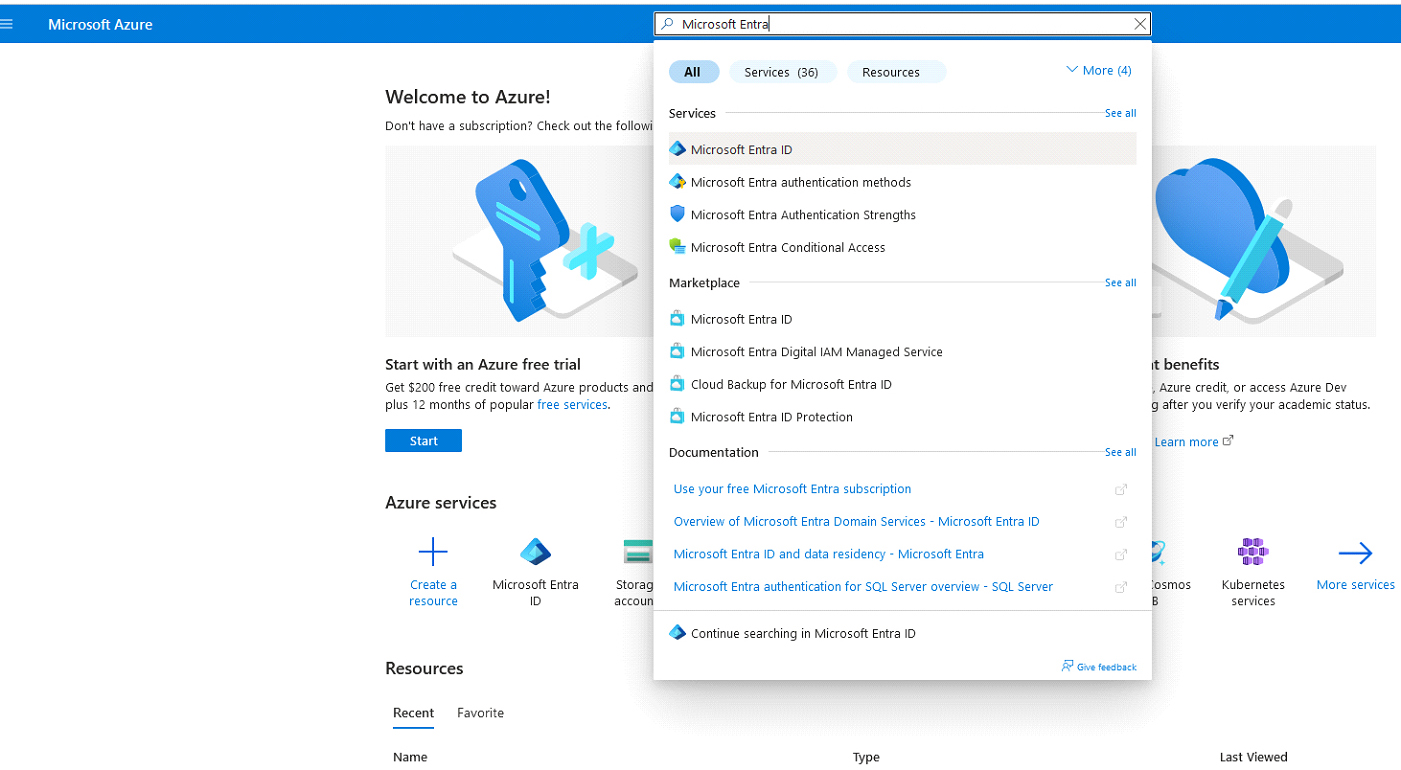
Registration - Step 1
- Sign in to the Azure Portal at https://portal.azure.com
- After signing in, use the search bar to find and select Microsoft Entra ID
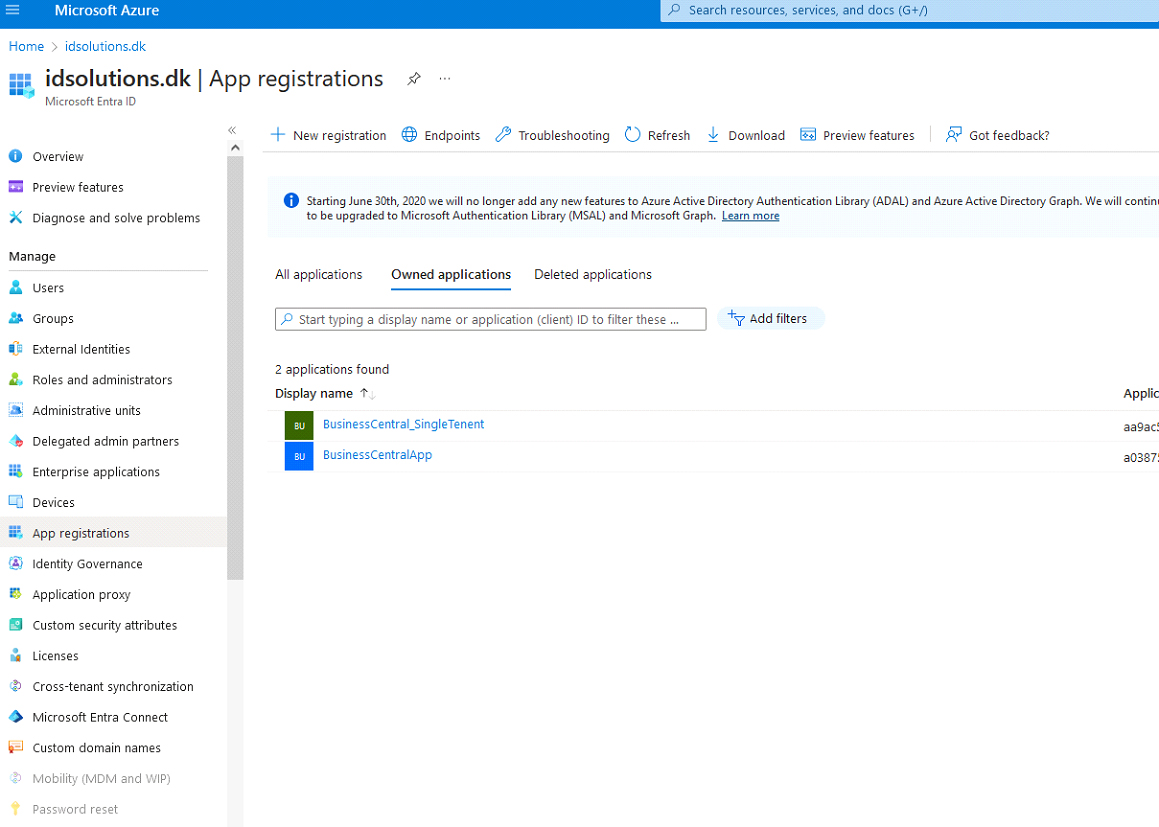
Registration - Step 2
- Under the Manage section on the left menu, click on “App Registrations”
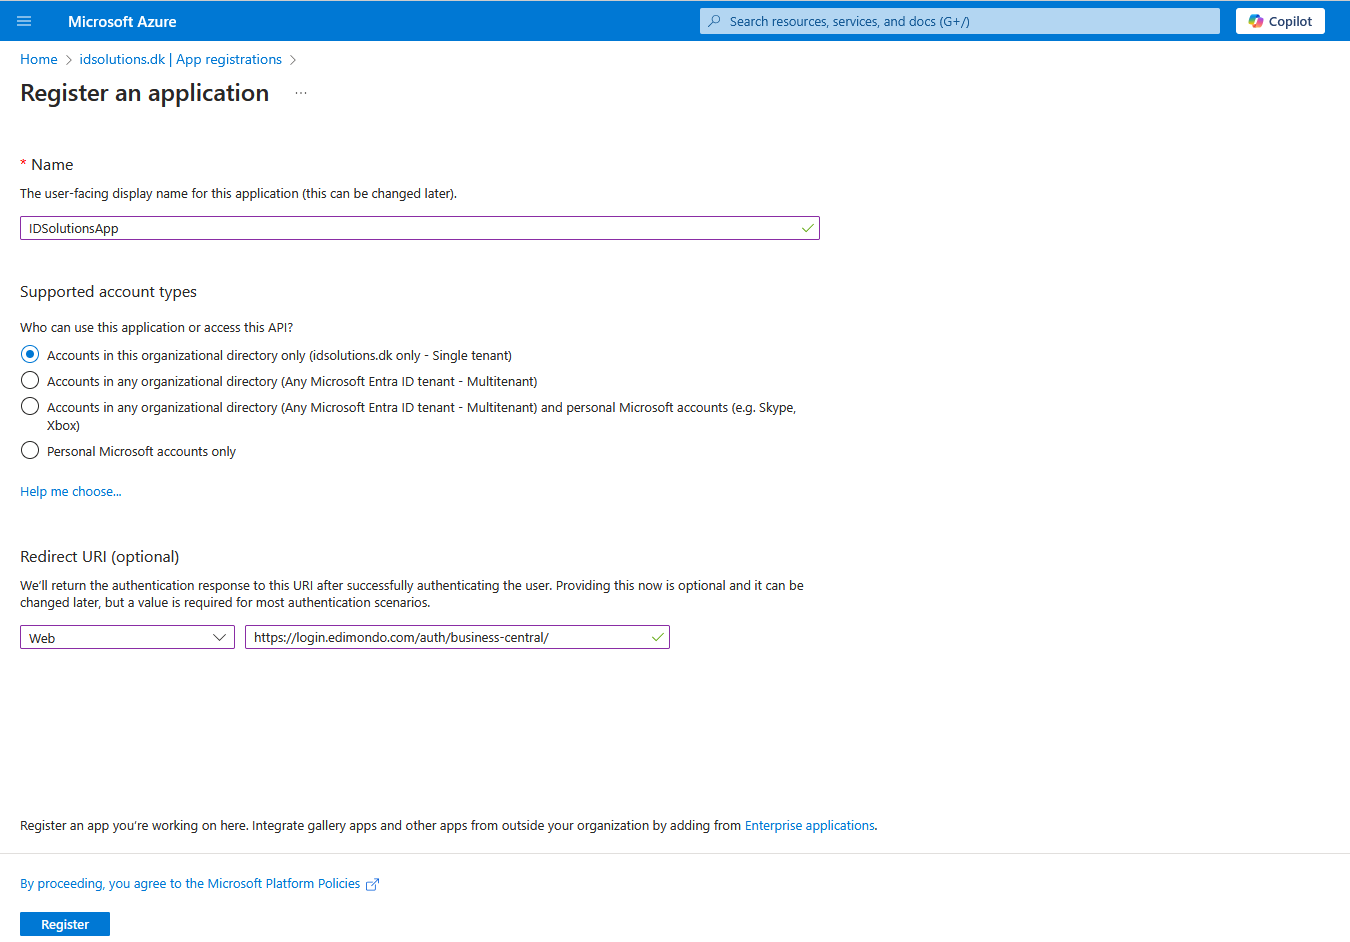
Registration - Step 3
- Click on “New registrations”, fill in all the required details, and click “Register”.
- Set the Redirect URL to:
https://login.edimondo.com/auth/business-central/
Registration - Step 4
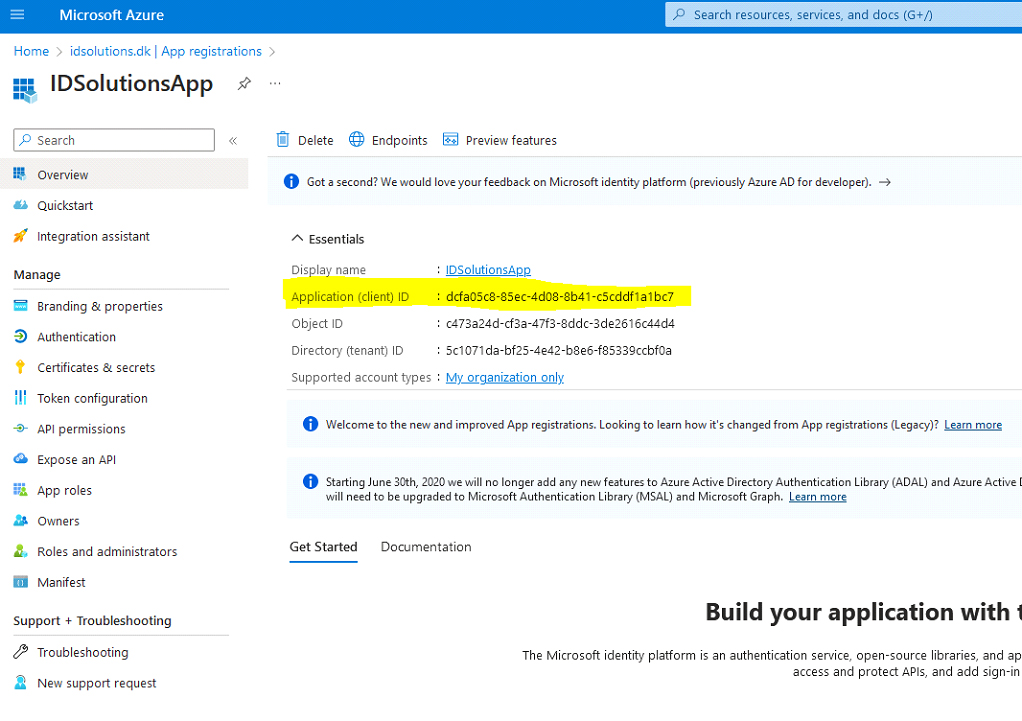
- Navigate back to the “App registrations” tab and click on it. You should now see the newly created application . Select the application.
- Copy the Application (Client) ID and Directory (Tenant) ID, then save them in a secure location for future reference.
Registration - Step 5
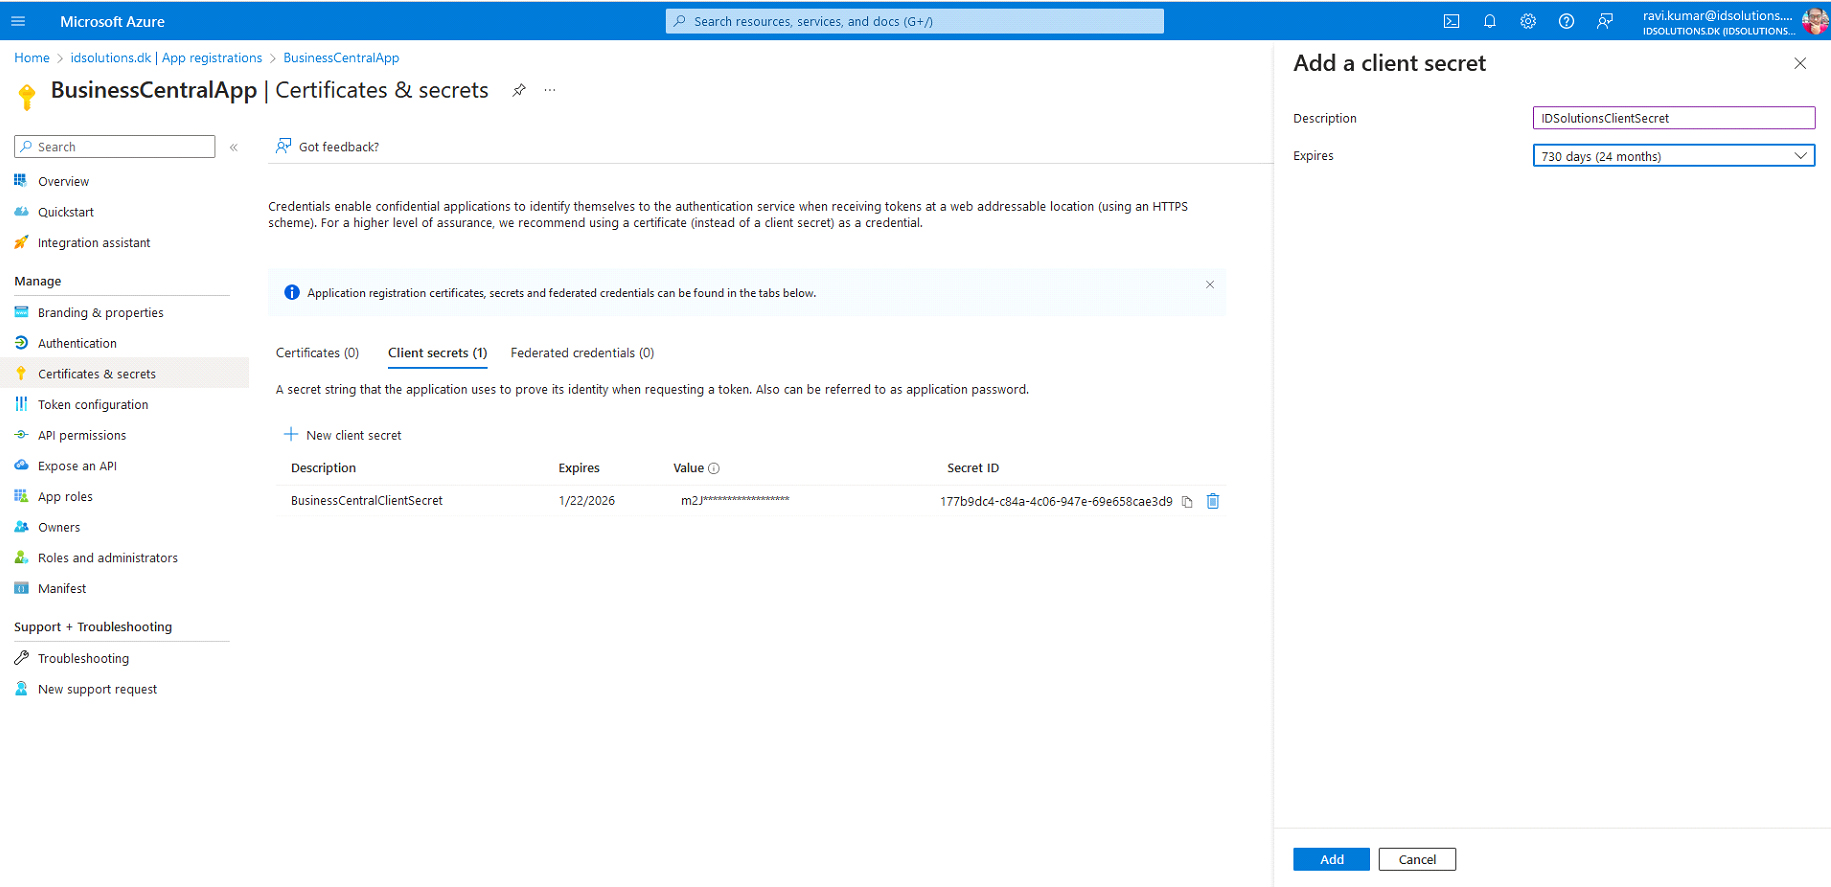
- In the left menu, click on “Certificates & Secrets”, then navigate to the “Client Secrets” tab on the right.
- Click “New Client Secret”, provide the necessary details, and set the expiration period to 24 months or the maximum allowed duration.
- Click “Add” to save the client secret.
- The Client Secrets list will be updated with the newly created entry.
- Copy the client secret value and securely save it, as per Microsoft's guidelines because Client secret values cannot be viewed again after creation. Ensure you save the secret immediately before leaving the page.
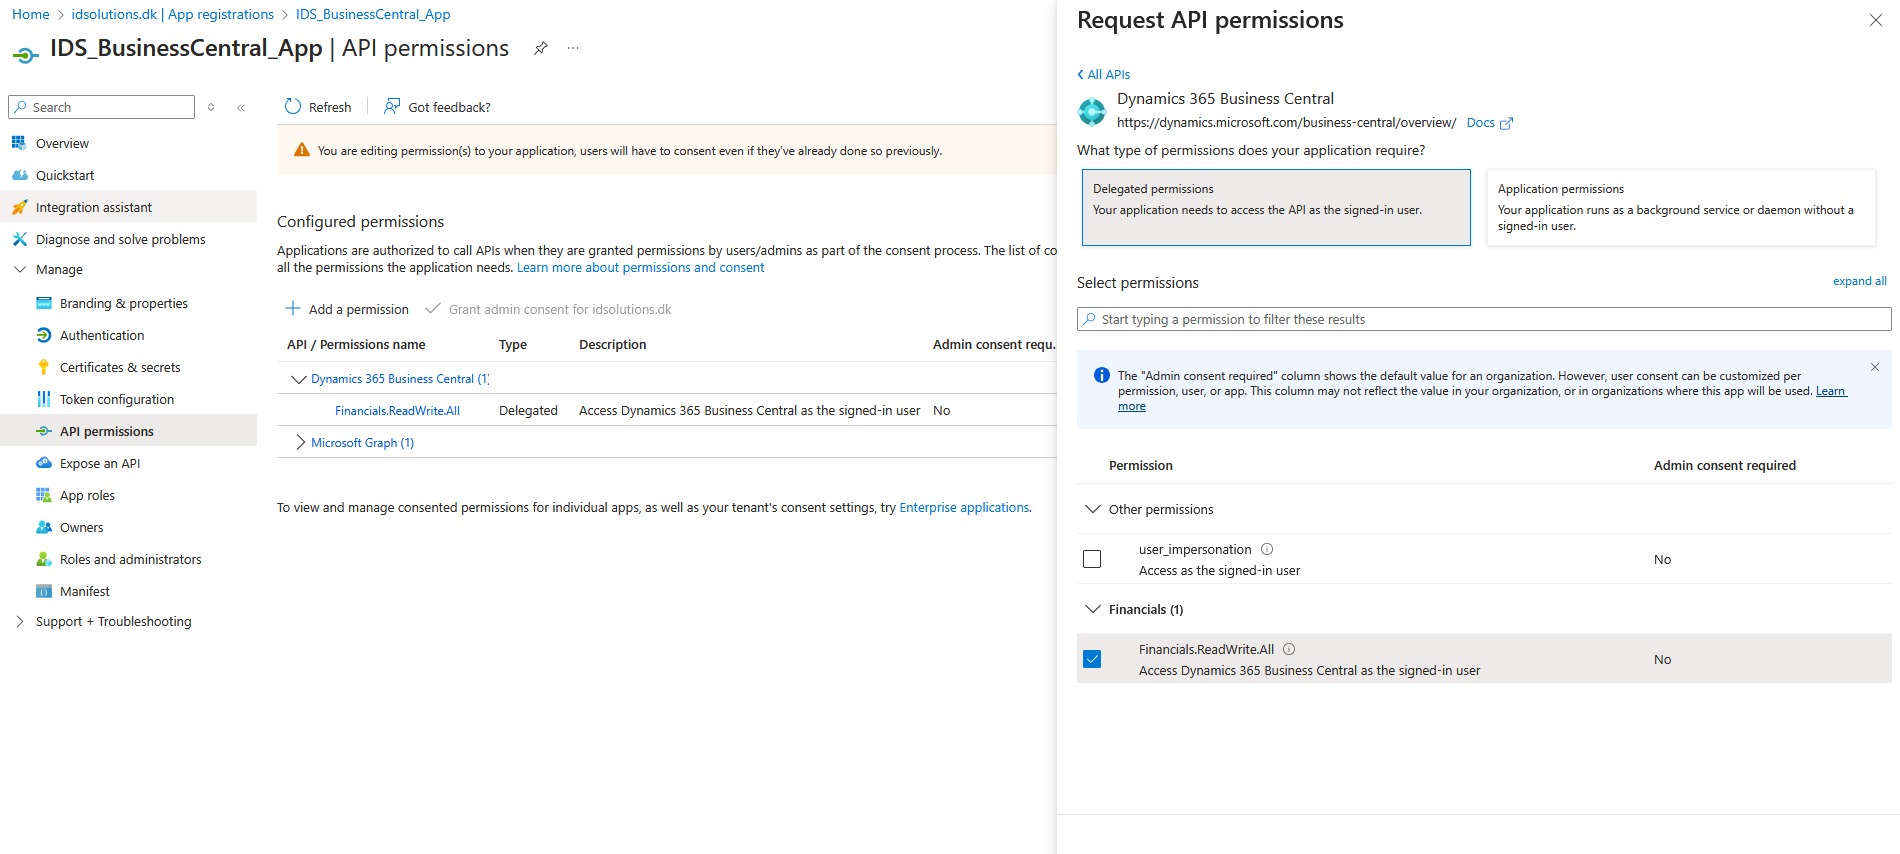
Registration - Step 6
- Navigate to API Permissions and click Add a Permission.
- Under Microsoft APIs, select Dynamics 365 Business Central.
- Choose Delegated Permissions for the application and grant Financials.ReadWrite.All access. This allows the application to act as the signed-in user.
- Click "Add Permissions" to save the changes.